Construction
Here is Monogram's 1/48 scale A-10A Thunderbolt II.
This was an
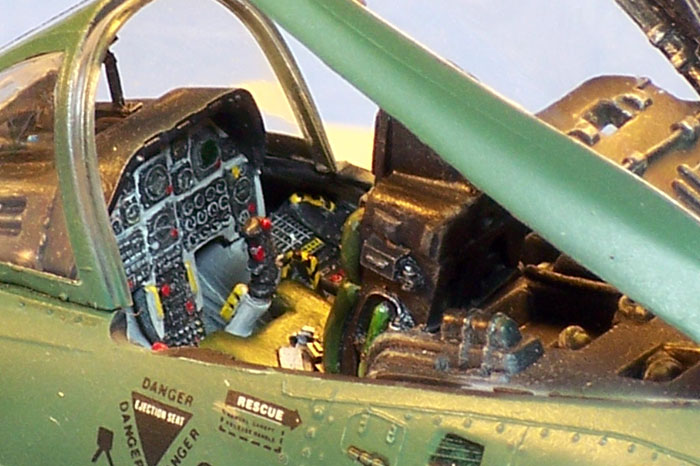
out of the box build except for adding a resin seat. The bottom of
the kit seat is part of the cockpit tub and has to be sawn out,
leaving a gaping hole. However, the resin seat neatly covers this,
so there's no need to use anything to fill it in! I've always liked
Monogram's cockpits. They are very nicely engraved and a little
painting and drybrushing goes a long way. It's perfect for a "shelf
sitter", or for the modeler who's less fanatical on details (such as
me!).

I'm not a huge fan of modern jets. I chalk this up to their bland
camouflage of all grays or all greens, along with subdued markings.
However, when I can find one with a little "pizzazz"; I can get very
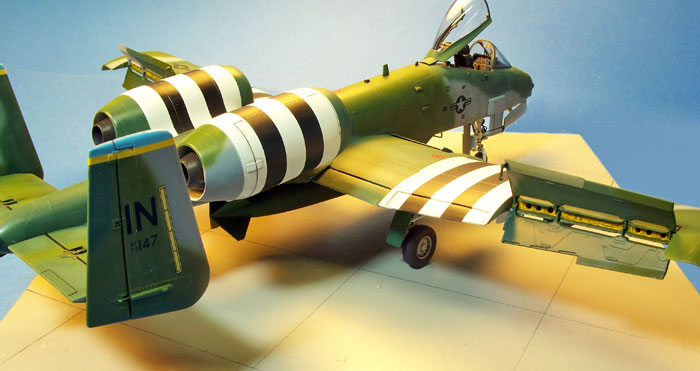
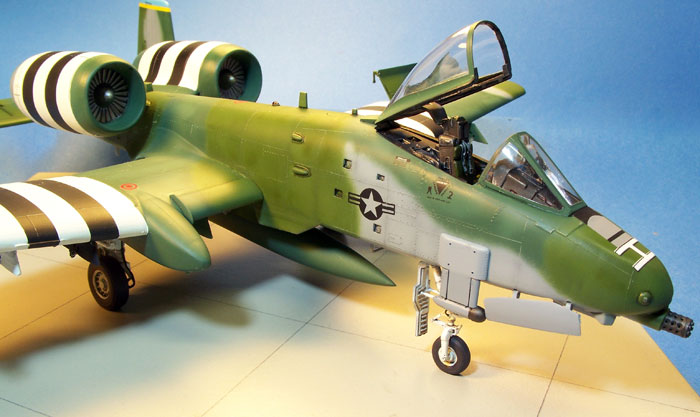
interested in a torch tail! I found a color drawing of this A-10 in
the Sq. Sig. mini "In Action" book on the Warthog. It depicts an
A-10A that partricpated in the 50th anniversary celebration of
D-Day. It also is in the much less seen 3 tone "lizard" scheme with
Dark Ghost Gray substituted for the more common Gunship Gray. It
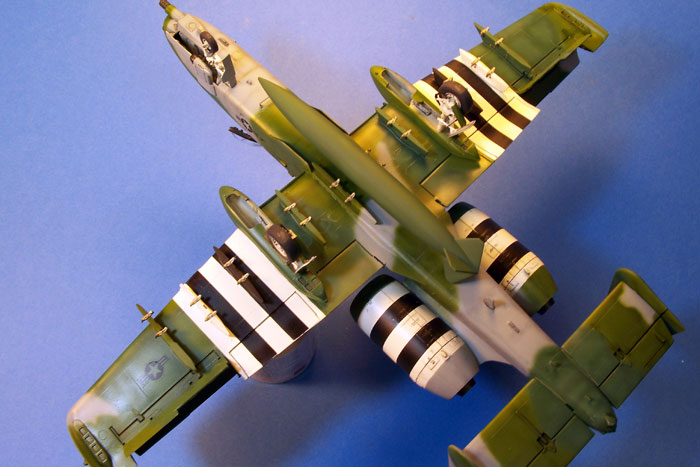
even had the advantage of not having to build all of the ordnance,
since it wouldn't be used for the celebrtion. I simply opted to use
the center line drop tank and leave the other pylons bare.
Although the kit includes the typical Monogram raised panel lines, I
found these to be quite appropriate for the 1/48 Warthog. They did
good job on the surface details, rivets and all. The overall fit of
the kit is good; especially the fuselage seams. The engine pod seams
are a little tougher, but thinning the insides of the intake lips
will help better position the engine faces. Still, the seams around
the inside of the intakes were the hardest to eliminate. I honestly
think that this is one time where I'd recommend some seamless
intakes. Although it would require some minor surgery to use them,
all of the seam work would then be on the outside, and much easier
to get at! The only other problem seams where those that run on the
bottom across the mid-chord of the flaps. Why do manufacturers do
this?! On the plus side, the fit of the tail planes to the fuselage,
and the vertical tails to the tailplanes is so good they can be
painted and decaled separately and then glued into place.

The only other bug-aboo on this kit were the main gear doors. The
instructions show their relative positions to each other, but not
the order in which to add them. If you get the small middle door in
the wrong place, the arms of the larger rear door will NOT go around
it! Also, the arms for the larger gear doors don't really have any
positive alignment or placement features, making them fiddly to glue
in place. In the end, I was able to get everyhting on and relatively
aligned, even if it doesn't match the pictures of the gear doors in
Detail and Scale perfectly.

Painting and Markings
The model was painted with Model Master enamels; specifically Dk
Ghost Gray (36220); Euro Dk Green (34092); and Medium Green (34102).
I have seen a reference to the gray on this scheme being Dy Gull
Gray, but after some thought discounted it as either a typo or a
translation error. After all, why would the USAF use a USN paint?
The Dk Ghost Gray would be something on hand, and makes more
practical sense. It also seems to match the color pictures of the
scheme very well.

Each color was lightened and darkened to add post shading. In fact,
between the intial camouflage, the following touch ups, and then the
various post shading and the touch ups for that, it was the longest
airbrushing session in my career; about 4 hours! The blue fin tips
were painted while their yellow cheat lines are decals. A black
acrylic oil wash (Windsor Newton water soluble oils!) was used in
the vents and in the control surface lines. The raised lines were
also LIGHTLY wet sanded with a 600 grit sanding stick just enough to
pop out the primer coat and add a little more contrast to the
surfaces. The markings are from the spares box, as I could not find
a decal sheet for this scheme (though I've been told it exists). The
only decal I couldn't reproduce is the small squadron badge on the
nose. I hope to find it on another sheet sometime in the future.

Conclusion
All in all, this was an enjoyable build. I probably spent about
20 hours on it, half of which was in painting and finishing. It's a
perfect kit to build if you want a very good representative of the
A-10A Warthog for your shelf, and you're not addicted to scribed
panel lines! If you want to build one for competition, you'd need to
build one for practice to iron out the kinks, and then a second one
for the contest table.

The detailing on the kit is excellent straight from the box, and
there are also plenty of aftermarket sets that'll allow you to go to
town if you so desire. Hope you enjoy! Happy modeling y'all!