Description
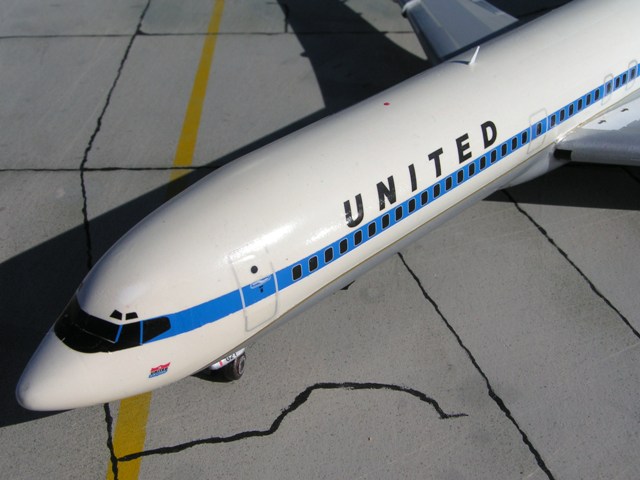
This is my Minicraft 727. Some folks dislike this kit but I
think, with work, it can be made to look pretty good. The Airfix kit
from the early 1980s is the only other injected molded 727-200
option, but I think the nose and the tail has some shape issues, so
I used the Minicraft kit.

Here are the changes I made:
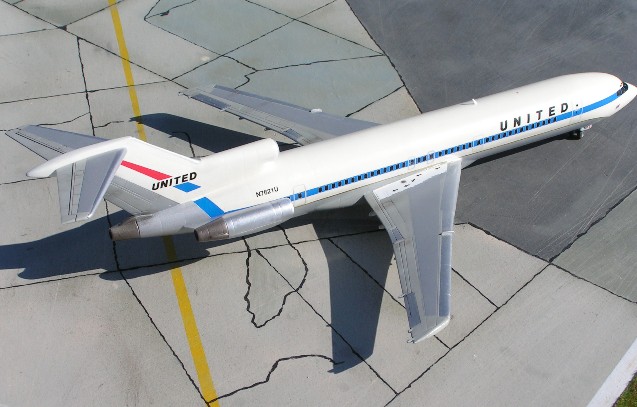
Engines: They lack the bulged thrust reverser things on the sides of
the engines on Number 1 and 3, and on the bottom of Engine Number 2
(in the tail). I made these with plastic strip and it took about ten
minutes to add this feature. The intake opening of Engine 2 was also
too small in diameter. I used a cone shaped grinding tool from
Dremel to increase the size of the intake. This took about 5
minutes.

Tail: The top of the 727 tail to my eye has a gentle slope toward
the rear. The Minicraft kit has a tail that does not capture this,
so I few minutes with sandpaper and a little Apoxie Sculpt took care
of that.
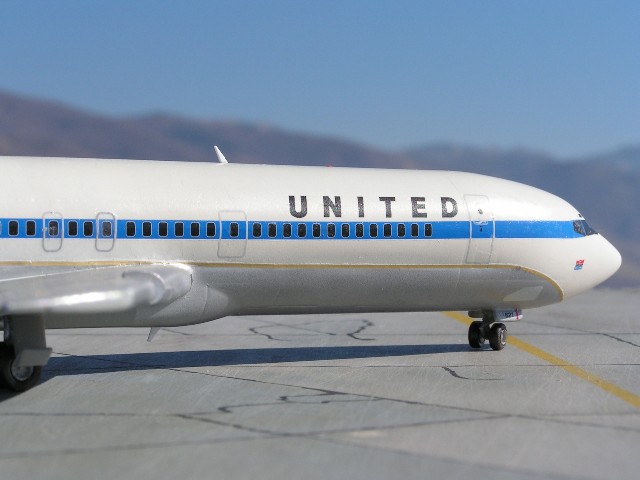
Landing Gear: I had read that the gear was 3/16 inches too long and
I really did not think I would change this, but after test fitting I
did see it looked strange. I chopped down the gear and added very
small diameter brass rod to strengthen the gear. This took about one
hour and really improved the stance of the model.

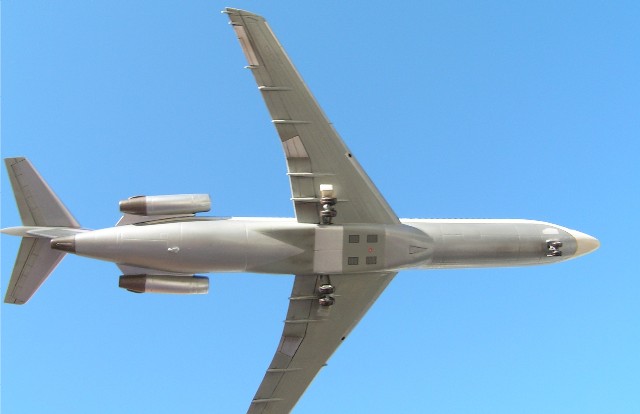
Wings: I removed the wing fences on the kit which I felt were too
thick and in the wrong location. They were moved to the correct
location and replaced with thin plastic card.
I painted the model with Floquil Reefer White, Model Master Voodoo
Gray and SNJ metal paint.

The decals are from the kit and printed by Cartograph. They are very
nice, but to aide the “casual” modeler they printed the white
portions below the blue cheat line. Instead of trying to match the
shade of white on the decal, I just carefully cut away the white
portions and painted the white. For the Coroguard sections on the
wings, I used Liveries Unlimited inspar decals.
Overall, I like the end product and look forward to my next
Minicraft 727.