Construction
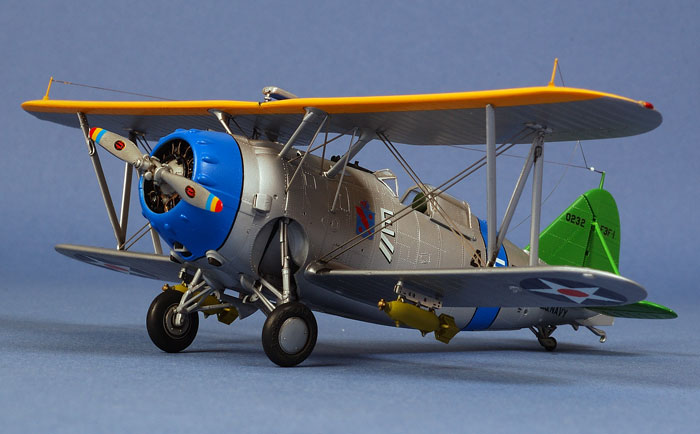
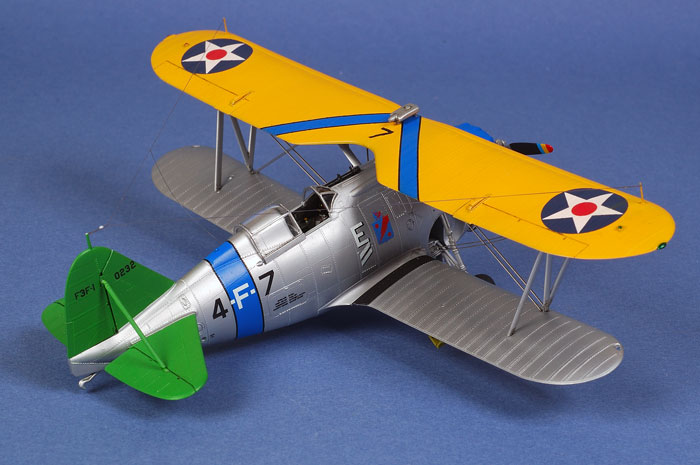
Here is my Accurate Miniatures 1/48 scale Grumman F3F-1 in 1/48 scale.
The model was built straight from the box, but what a great
box it is!

This kit has been engineered to deliver perfect fit, including
traditionally troublesome areas such as the alignment of the top and
bottom wings. You do need to take care to follow the instructions
exactly though, especially in a couple of areas. These include the
installation of the gear doors, which have to be carefully twisted
and pushed into place, and the main rigging wires, which should be
slightly bent at the ends before installation.
I strongly suggest that you
visit Accurate
Miniatures' website and thoroughly read the F3F-1 "Online
Build", which offers some additional hints and tips on top of those
supplied in the instructions.
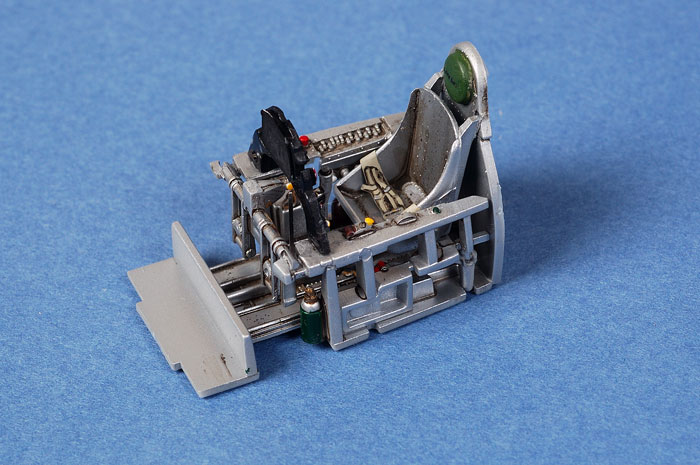
Kit detail is excellent. The cockpit looks great straight from
the box with its photo-etched harness and clear instrument panel.

The engine includes a photo-etched ignition harness and plastic
pushrods, delivering a very convincing result for this prominent
aspect of the build.

Painting and Markings
The model was finished using the Testor Aztek A470 airbrush fitted
with the "Fine" Tan coloured tip.
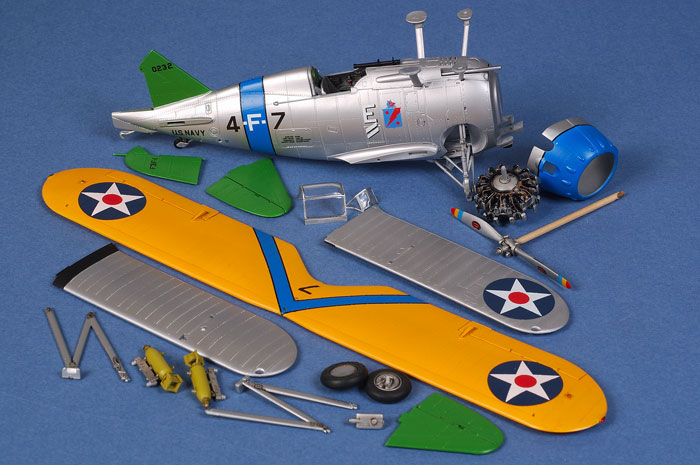
Due to the complex paint finish and the nature of the biplane's
structure, I applied paint and decals while the model was still in
sub assemblies.
Recently, I received a copy of the
new book from Model Publishing, "First and Foremost - An Illustrated
History of Carrier Air Wing One Part One 1934-1957". This book
clearly documents the colourful pre-war markings applied to the
aircraft of the Air Group on USS Ranger. There is a terrific
in-flight photo of VF-4 Section 3 Leader. The photo is in black and
white, but I could just imagine how the Willow Green tail, Orange
Yellow upper wing and True Blue section marrkings would look on the
three-dimensional canvas of the Accurate Miniatures kit.
I confess that I have a bit of an enamel phobia, but all this has
changed now. The only Willow Green I could find was in the Testor
Model Master enamel range, so I decided to give it a go. After a few
experiments, I thinned the enamel paint with lacquer thinner. The
result was an ultra-smooth, high gloss finish that was effortless to
spray and very controllable. I waited 24 hours before masking, which
was quite sufficient.
I will be using Model Master enamels again!

Prior to applying decals, I sprayed all the sub-assemblies with
Polly Scale Gloss. The kit decals performed very well, although the
black outlines to the True Blue Section 3 markings were fiddly to
apply. Accurate Miniatures supplies markings for virtually every
F3F-1 ever flown, but I did have to improvise for the double
diagonal markings under the gunnery "E" on the fuselage sides. I
modified the black "I" digits, then cut off the white stroke from
the letters "F" and "M". The resulting white stripes were applied
over the black stripes to obtain the drop shadow effect.
Weathering was kept to an absolute minimum, with only the hinge
lines on the control surfaces slightly emphasized with thinned black
acrylic paint, and an oil wash on the engine, propeller hub, gear
struts, wheels and bombs.
The final coat was a 50/50 mix of Polly Scale Flat and Polly
Scale Satin. This delivered the semi-gloss finish that I was looking
for. While full gloss undoubtedly looks striking, I was not sure
that it was entirely authentic in 1/48 scale. Even Polly Scale Satin
was a bit glossier than I wanted, but mixing Flat and Satin in equal
quantities did the trick.

Final assembly took place after the top coat had dried, followed
by installation of the photo-etched rigging and aerial wires from
elastic E-Z Line.
After finishing this kit, I have acquired a bit of a taste for US
Navy between-the-wars colours. I'd love to have a crack at a Navy
Hawk or F4B-4. Does anyone make a 1/48 scale O2U Corsair?
Bring on those yellow wings!
