Background
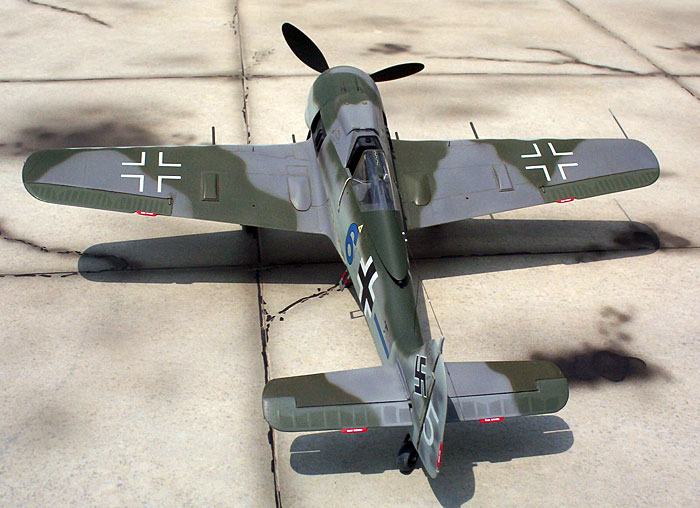
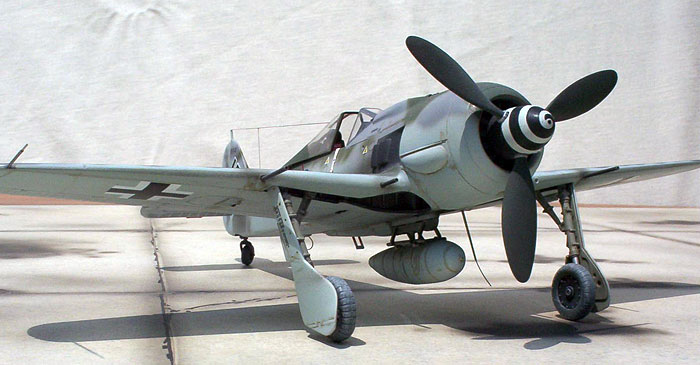
Focke-Wulf Fw 190A-8 "Blue 6" was a rebuilt composite aircraft
assigned to 8.II/JG 26. A photograph of it standing on it's nose
shows it to be most likely built from at least four
or five assemblies prepainted at different plants during the late
stages of the conflict.
In an attempt to get it back in the air as quick as possible the
tailplanes were painted
upside down apart from the airframe and when assembled the
undersides remained
75 gray violet. The rest of the airframe was 83/75 over 76 with what
seems to be both ailerons in 83 Dark Green.

The Focke Wulf was found intact by Canadian troops propped up on
it's nose. Later
attempts to move the aircraft by a U.S. bulldozer resulted in the
detonation of a bomb
placed under the nose as a booby trap killing several personnel.

Trimaster's 1/48 scale Fw 190A-8
Having gotten away from modeling in the late 70s I unfortunately
missed those
delectable new state of the art Trimaster releases. Thanks to Gil
Hodges acquiring
a stash of the kits still in their protective bags I was able to
procure a couple of these
wonderful kits.
The surface detail, unlike the well worn mold releases from various
other companies through the years was crisp and delicate.
Now that I had plenty of practice on the later releases in the
cowling and wingroot areas I figured I could assemble this jewel
with little or no problems. That knowledge would pay off during the
stages of building.

Construction
Assembly was straight forward taking my time with the cowling and
spreading the
fuselage sides just the right distance so the wing roots layed right
in there. Dry fit - dry
fit - dry fit - glue.

The kit's stainless steel photoetch is a little more difficult to
work with than brass but with effort works well. It was getting the
seat belts and harness to lay in a relaxed position that required
the most effort. The kits white metal gear struts fit loosely in
their respective mounting holes so I used a small amount of 5 minute
epoxy so I could hold them in position while they set. I used a
cardboard gauge for this. If you let them set up in the kits stock
position the gear toes in way to much. I cut the templates angle
from line drawings.
After the epoxy set I reinforced the joints with CA. The result
looks much better and the only drawback is that the radius strut
will not locate in the locator hole provided. I just let mine lay
against the rear of the wheel well in it's new position. Most of the
locating area is still covered so it's not that noticable. The metal
gun barrels are a nice addition along with tubing for the pitot
tube. The only deviation from kit parts was the cutting and
repositioning of the elevators.

Painting and Markings
The model is painted with Model Master enamels with some shades
adjusted for my own tastes in RLM representations. Model Master RLM
colors are semi-gloss and make decal application a bit easier
without having to gloss coat.

I used a KommanDeur limited edition set that had been burning a hole
in my decal box since I picked them up at the 1999 Nats in Orlando.
These decals went on great and settled down nicely using Sol-v-set
solution. The airframe in the photograph looks as though it hadn't
seen much airtime before it's end so I left weathering at a minimum.
I let capillary action take a real thin raw umber into the panel
lines and around details and then sealed the whole model with
Testor's Dul-Cote.
"Blue 6" makes a nice addition to my Fw190 collection.