Background
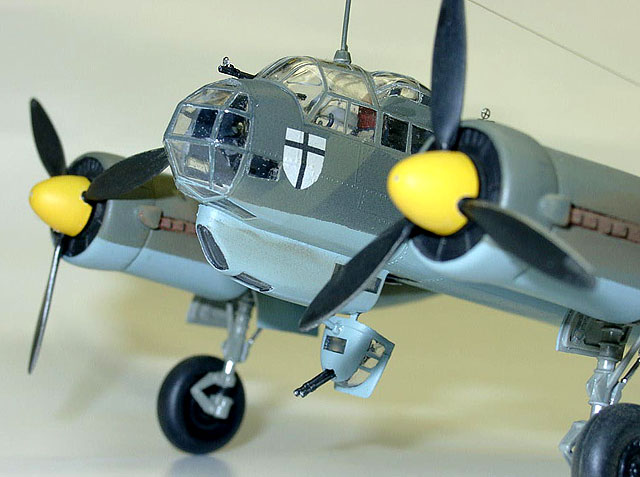
Here is the Italeri 1/72nd Junkers Ju 88A-4 converted to a Ju 88D
reconnaissance version.
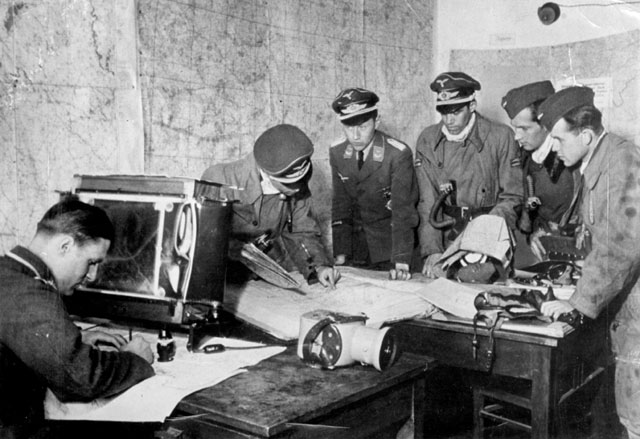
This project was constructed as a gift for a WWII German Pilot.
Dietrich Puetterwas a Ju 88 reconnaissance pilot on the Eastern
Front with seven confirmed kills and was captured after his aircraft
was rammed by a Mig 3 in 1942.
Based on the pilot’s recollections and a photo of his aircraft I
determined the aircraft to be a reconnaissance version of the
Ju88A-5.
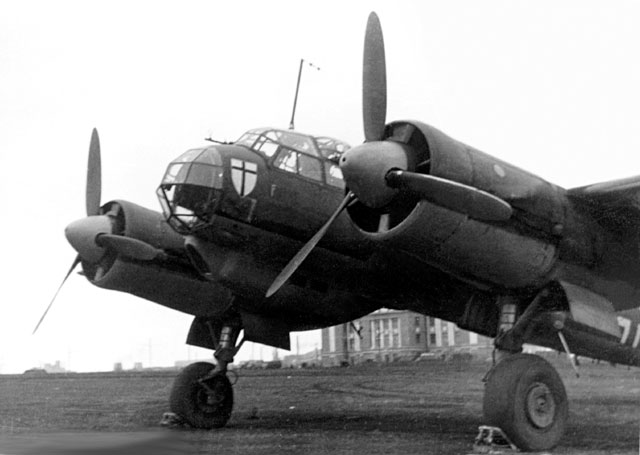
The nose badge showed this to be a member of KG 2.
The colors of aircraft in this theater and the shading difference on
the photo led me to apply yellow on the spinners, wingtip undersides
and on the fuselage band. I used the fuselage code of T1 as this was
the code for the 10th recon Group “Tannenberg” of which Dietrich was
a member.

The Kit
I used an Italeri Ju 88A-4 kit for this project. I had a hard
time finding this kit as it has been out of production and not
easily located. I have a Revell Ju88A-4 and a AMTECH J88S and I was
going to modify the AMTECH to an A-5 Version with Revell parts.
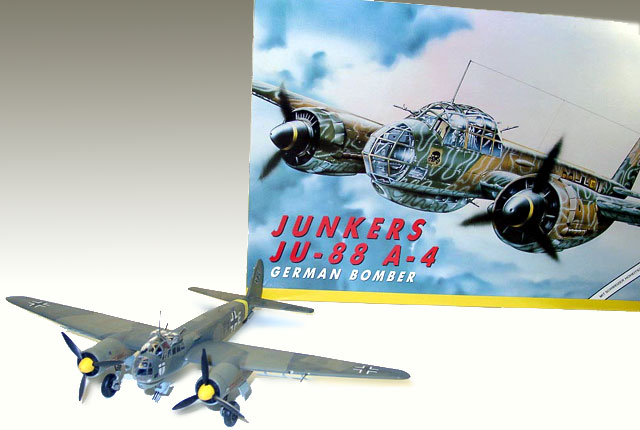
Luckily I found the Italeri kit at Hobby Island in Houston.
Although this kit has rivets and raised panel line it was the best
choice. The lines are subtle and the rivets were mostly removed with
a light sanding. The landing gear was extended too far and this was
easily shortened.

Construction
Modifications
I backdated this kit by changing the engine nacelles, filling and
rescribing the rudder, reducing the cord of the propellers and
adding camera lenses under the rear fuselage.
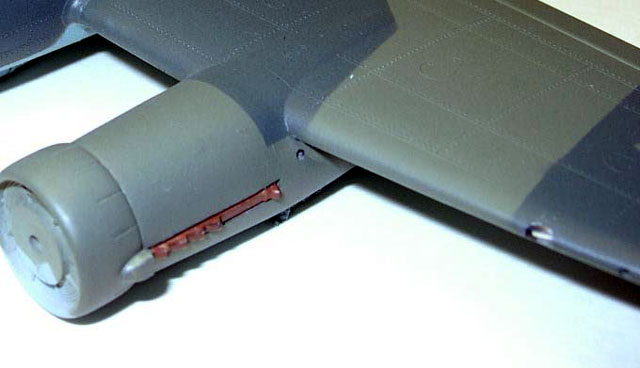
The nacelles needed the lower sections of the A-4 engines removed
and rounded to the A-5 engine profile.
The rudder was backdated to an early A-5 by making it a straight
up version and removing the forward protruding section. The
propellers were reshaped from the wood of the A-4 to the thinner
metal blades of the A-5.
Enhancements
I added Eduard's pre-painted photo-etched seatbelts to the
cockpit.
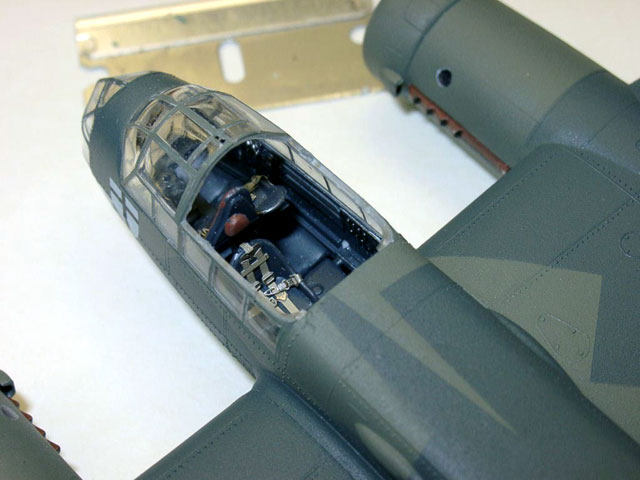
I also modified the wing landing light from a square kit version
to rounded lens. I used photo-etched gun sights and added wingtip
lights from colored sprue. I used clear rod for the engine viewports
and for the camera lenses. Finally I used Smoke invisible thread for
the antenna.
Construction Continues
The engine nacelles were filled with putty and filed to the
correct A-5 shape. The interior was constructed and painted dark
gray and black on details. Dry-brushing was used to bring out the
details. The seatbelts were added. After painting the rear wheel and
installing, the fuselage was closed.
NOTE: The details in the cockpit interior were nice, but they
were barely visible after the greenhouse clear parts were glued in
place.
The tail was modified at this stage. I installed the wings and the
elevators with minimum filling.
I dipped the clear parts in Future and allowed them to dry for a few
days. They were installed at this stage and Italeri does something
great, The rear of the canopy is a separate section almost like the
actual aircraft. I did not need to install the weapons because I
would remove the rear and add them after painting and finishing.
Now, I installed the engines. I left off the exhausts, Landing
Gear, Pitot tube and antenna until very end. I installed the rear
canopy section with white glue and mask off the canopy. I used “Bare
Metal Foil” for the masking. Tedious, but necessary project for this
greenhouse canopy.
I used a minimum of crazy glue and Correction fluid for seam
filling. I also used Mr. Surfacer for filling some small seams. I
scribed in any details lost during sanding.
Not much in this project , pretty good fit!

Painting
The entire model was primered with automotive sandable gray
lacquer. This was rubbed down with a soft cloth to remove any
surface blemishes.
I used Mr. Color RLM 65 for the underside, Testor Model Master
Acrylics for the Upper surfaces, RLM 70 & 71. I used an Aztec for
the acrylic and a Badger 150 for the Lacquers, just my method.
After the paint had dried, I sprayed Future on areas for decals,
wings, fuselage, tail. I used Testor's Flat Acrylic after decals
were on and dried.

Decals
I used Techmod 7211P Junkers Ju-88A4/5 decal set. These were
excellent. Decals settled down with one application of Micro Sol.
One of the nicest decal sheets I have worked with.
I custom made the shield for the nose with white decal paper and
small black lines to form the crosses.
I also handcrafted the T1 on the side of the fuselage.

Finishing Touches
I hand painted the wheel wells and landing gear, and carefully
installed and aligned these. I painted the exhausts (which were
nicely done on this kit) and installed these. Pitot tube, antenna,
belly guns and finished off with pastel weathering.
