Introduction
If you have ever felt jaded during a large and complex modeling
project, maybe you should take a break by building a simple kit.
A few weeks ago I was in the mood for some instant plastic
gratification, so I went out and bought Revell's 1/72 scale
Jagdpanther. Revell's new generation of small-scale armor models is
a far cry from the old Airfix and Matchbox kits from the 1960s and
70s. These new kits are accurate and well detailed, even including
link-and-length tracks. They are also well engineered and can be
built very quickly - ideal for a weekend modeling project.
I built my small-scale Jagdpanther straight from the box. It was
ready for paint in around four hours. I haven't finished a model
that fast since I was 12 years old! The only challenge was aligning
the individual track links around the rear idler wheels.
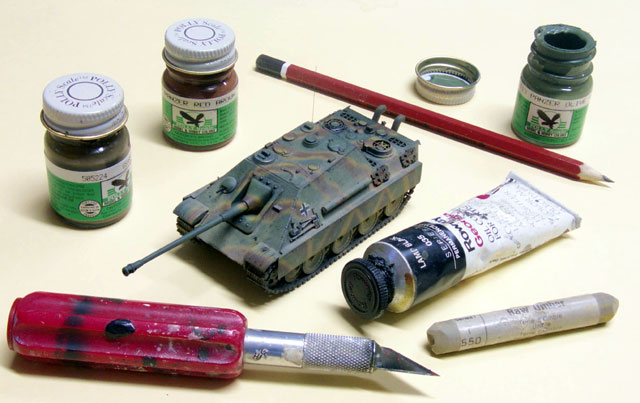
There are many options available for painting any model. For this
express project, I adopted a six-step painting process that took
less than five hours in total. This was an abbreviated version of
the way that I paint 1/35 scale armor models, but the basic elements
are the same.
I used my Testor Aztek A470 airbrush with the fine (tan-colored)
tip; and Polly Scale Acrylic paints to achieve this finish.
The steps I used for this project were as follows:

Step 1: Surface Preparation
The plastic on Revell's Jagdpanther is smooth, but the rolled
steel and cast metal surfaces on the full-sized vehicle were often
uneven and pitted. Even so, care is required not to overdo the
effect in this small scale. For this reason, the motor tools and
dental burrs sometimes used for texturing 1/35 scale models are not
appropriate here in Tiny Town.
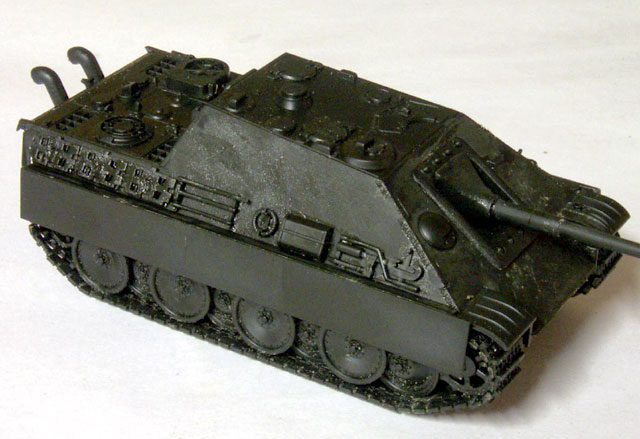
I enhanced weld beads and the edges of interleaving armor plate
by lightly scraping these areas with the point of a sharp hobby
knife.
All the armor flat plate surfaces then received an uneven coat
of Testor's Liquid Glue, brushed on straight from the bottle.

Step 2: Pre-Shading
I like to spray the entire model black before applying the
camouflage colors.
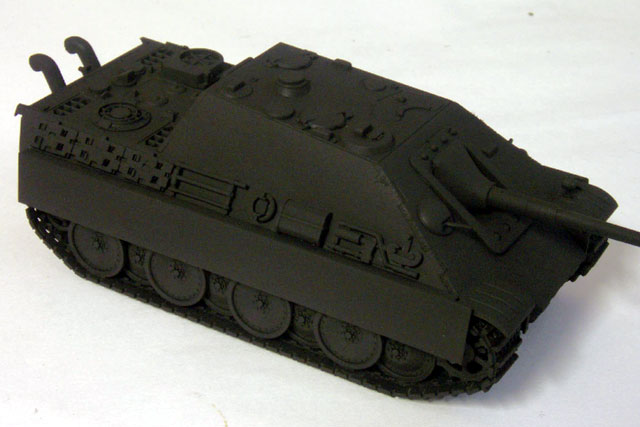
This black coat will provide scale "shadows" in the dark
recesses of the vehicle after the camouflage colors have been
applied.

Step 3: Base Camouflage Colour
My model represented a late-production Jagdpanther.
Some of these vehicles received a factory camouflage color of
Olive Green instead of the customary Dark Yellow. I sprayed Polly Scale
Panzer Olive Green on the upper surfaces, and on the
roadwheels. I left the tracks, the tyres and the recesses of the
lower hull in their black base coat.
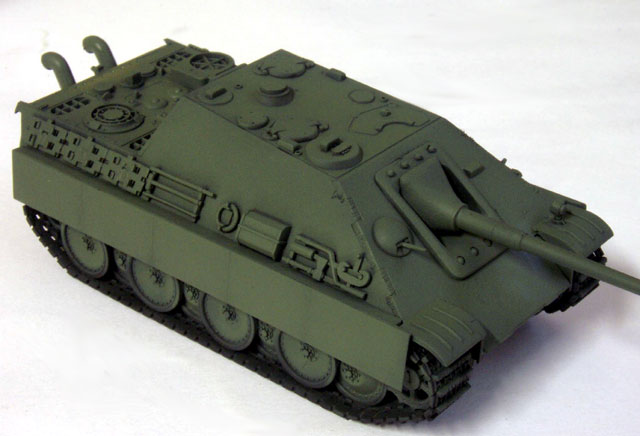
This overall camouflage color was sprayed with the
airbrush held at a consistent high angle. This left natural shadow
areas in black. I also painted the centers of the panels with a few
more thin layers of the camouflage color than the edges.

Step 4: Disruptive Camouflage
I applied a disruptive finish in Dark Yellow and Red Brown. The
Dark Yellow was sprayed first. I thinned the paint using Testor
Acryl Thinner to ensure a smooth, fine flow. The pattern was sprayed
freehand, without the aid of a mask.
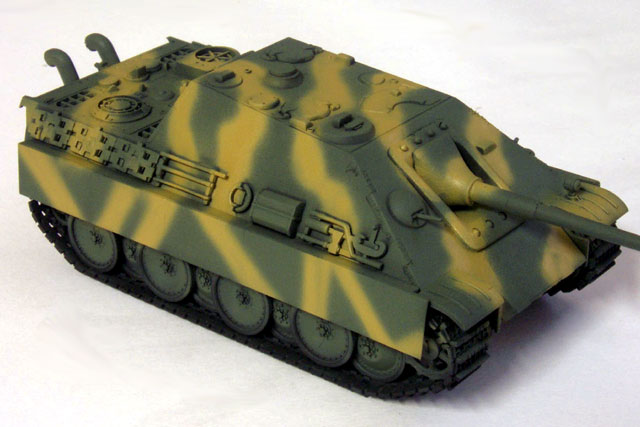
Polly Scale Panzer Red Brown was sprayed over the the Panzer Dark Yellow pattern
to complete the basic camouflage. I thought the Red Brown looked a
little to bright and orange straight from the bottle, so I mixed in
a few drops of PollyScale Olive Drab.
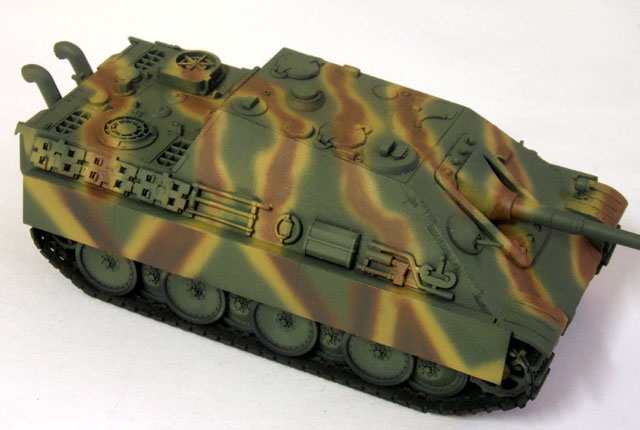
At this stage, the paint finish is still somewhat
stark and lacks depth. Decals were applied before moving to the next
step.

Step 5: Oil Wash
I mixed a wash from black oil paint and odorless thinners. I use
Lamp Black oil paint from the Rowney Georgian range.
This
thin wash was liberally slopped onto the entire vehicle. The black wash
clings to
features such as the edge of hatches, bolts and weld seams.
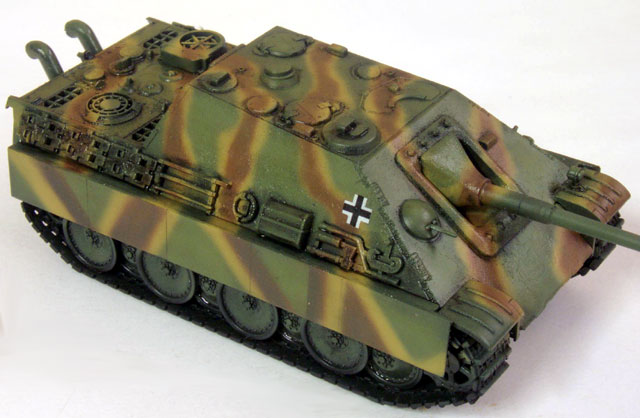
After about a half an hour, the excess wash was
blotted from the vehicle and the model was force-dried with a
hairdryer. The wash was then sealed with a coat of Testor Flat
Clear.

Step 6: Final Details and Weathering
I used an ordinary 2B lead pencil to color the metal surfaces of
the pick, shovel and cable coil. The pencil was also used to highlight the
edges of the armor plate, and tiny random pencil spots were dotted
on flat surfaces to depict minor chipping and damage.
Pastel chalk was dusted over the lower surfaces of the vehicle,
including the tracks. This dusty coat blended in the previously stark
paint job and dark wash.
Chalk pastels are available in a large range of colors. For this
job I used a pale shade of Raw Umber.
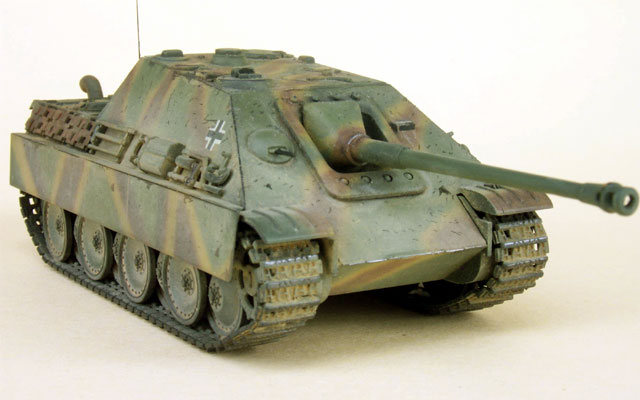
The pencil was now rubbed against the high points of the track to
depict shiny metal revealed by recent road use.
Finally, "Rustall" was applied to the spare tracks, the mufflers
and the exhaust dampers. A single coat of Rustall was sufficient for
the spare tracks and dampers, but the mufflers received a second
coat for deeper corrosion.

Conclusion
This six-step method is by no means the only way to paint
a small-scale armor model, but it might provide some ideas to practise techniques that can be used on kits of all sizes.
The important thing is to have a go, experiment and enjoy
yourself!